|
After destroying my old laptop, specific some hardware and cables, finally got me the opportunity to buy a new one and not just repairing the old laptop again and again.
But buying a new very good laptop with a lot of memory, ssd, and other good features that I needed it, got also with windows 11. I wasn’t happy in the beginning, because it meant for me to install ubuntu. Because I loved ubuntu, and that’s for a 20-40 minute installing I had a great operating system ready for work and leisure. I didn’t want anything else, no drivers, no need to worry about viruses or broken features, or even blue screens. I tried to install ubuntu, but failed again and again with every method… Somehow (I don’t know why), every usb stick or externall hard drive when it had linux operating system ready or even burned iso files to install ubuntu they weren’t working on my new Dell Laptop. For a minute a thought passed to put my old hard drive with the ubuntu to this new laptop, but I didn’t want to destroy the guarantee and open the backside of the laptop. It’s a new laptop and the prices have raised a lot, I didn’t want to try and destroy it even with an accident. So before continue to change the hard drive, I decided to look what windows 11 have and if I can continue to use them. With a surprise, I didn’t expect to be a total ready system working. No drivers needed to install, no other software for camera, screenshots, videoplayer, or anything else. Everything was ready, like a linux operating system. And that is great. Even it has the store which makes it easy with one click to download apps. But still worrying! I am not sure windows have fixed all the errors of the past, like blue screens, destroyed updates, viruses security, and other that makes windows less safe than anything else operating system. But why not give it a try? I surely will, but with the first fail of the system i will just return to linux (ubuntu) and the stability it gives me of having a safe and working computer. 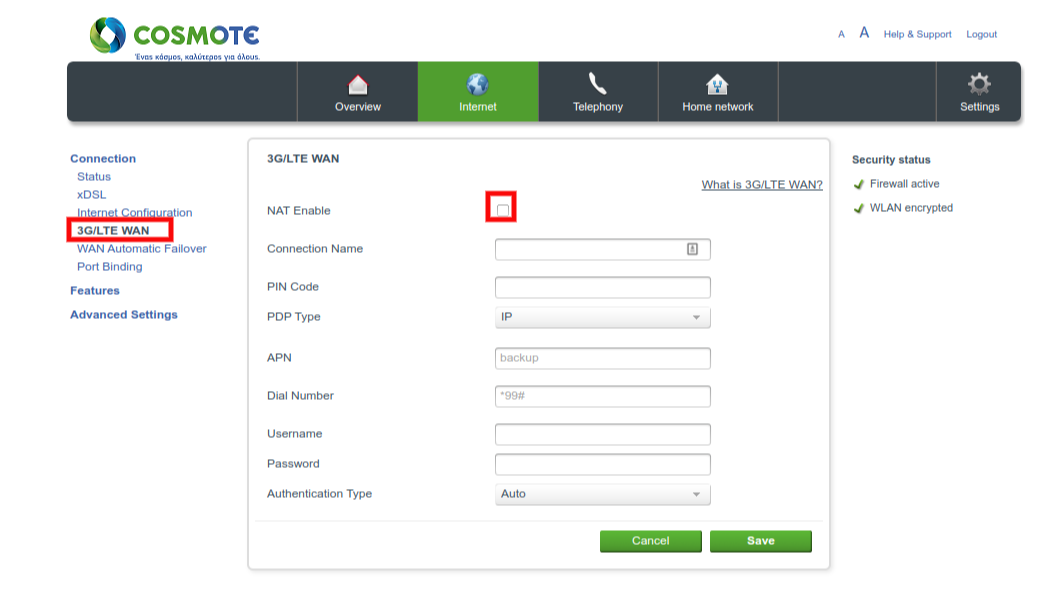 Μη έχοντας για 10 ημέρες wifi-calling και μένοντας σε απομακρυσμένη περιοχή η οποία δεν καλύπτεται από καμία εταιρεία κινητής τηλεφωνίας, και έχοντας μιλήσει με πάνω από 10 τεχνικούς του ΟΤΕ του 13888 για να μου λύσουν το πρόβλημα είδα και απόειδα και το έφτιαξα μόνος μου.
Δεν είναι δυνατόν να μην ξέρουν πως να το φτιάξουν οι τεχνικοί του ΟΤΕ. Αλλά αυτό είναι άλλη ιστορία. Τέλος πάντων επειδή έχω μπουχτήσει με αυτούς που δεν ξέρουν να κάνουν τόσο απλές δουλειές, σας βάζω εδώ την λύση για να το κάνετε μόνοι σας έτσι και σας προκύψει το πρόβλημα και εσάς χωρίς να έχετε πειράξει κάτι και να μην εξαρτάστε από εκπαίδευτους τεχνικούς που σαν λύση σας προτείνουν το reset ή την αλλαγή του wifi name. Τα βήματα:
Just go to Appearance --> Customize and then on Additional CSS write the following:
.meta-info-author { display: none; } 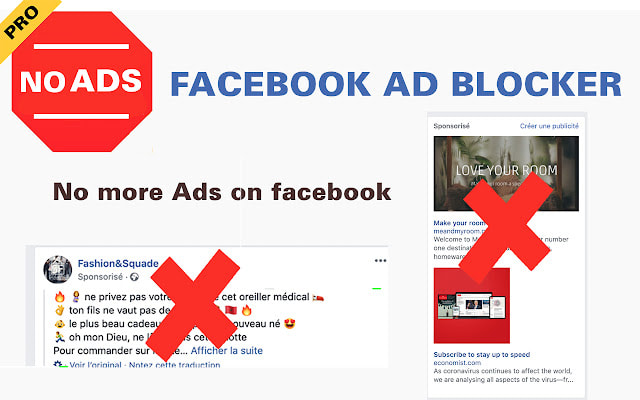 Finally an ad-blocker for Facebook which is working. It was so annoying every 2 posts to see ads (one "Sponsored" and one "For You") which i was spending a lot of time to block all those irrelevant ads.
I don't like Ads and i don't care if they are relevant or not. I don't want any ad on my screen. But i was one step before to stop using Facebook because of the ads, and i tried to find any ad-blocker that it will work. After trying many ad-blockers, i was surprised when i found a small extension for chrome with bad reviews (probably fake) to work perfect. And i am able again to start scrolling the Facebook feed without the annoying ads. Perhaps there are more ad-blockers which i haven't tried them yet but here is the link if anyone wants to install the same ad-blocker for facebook: https://chrome.google.com/webstore/detail/facebook-ad-blocker/cljhghgaaejijbkgkhficgmnllfdedib 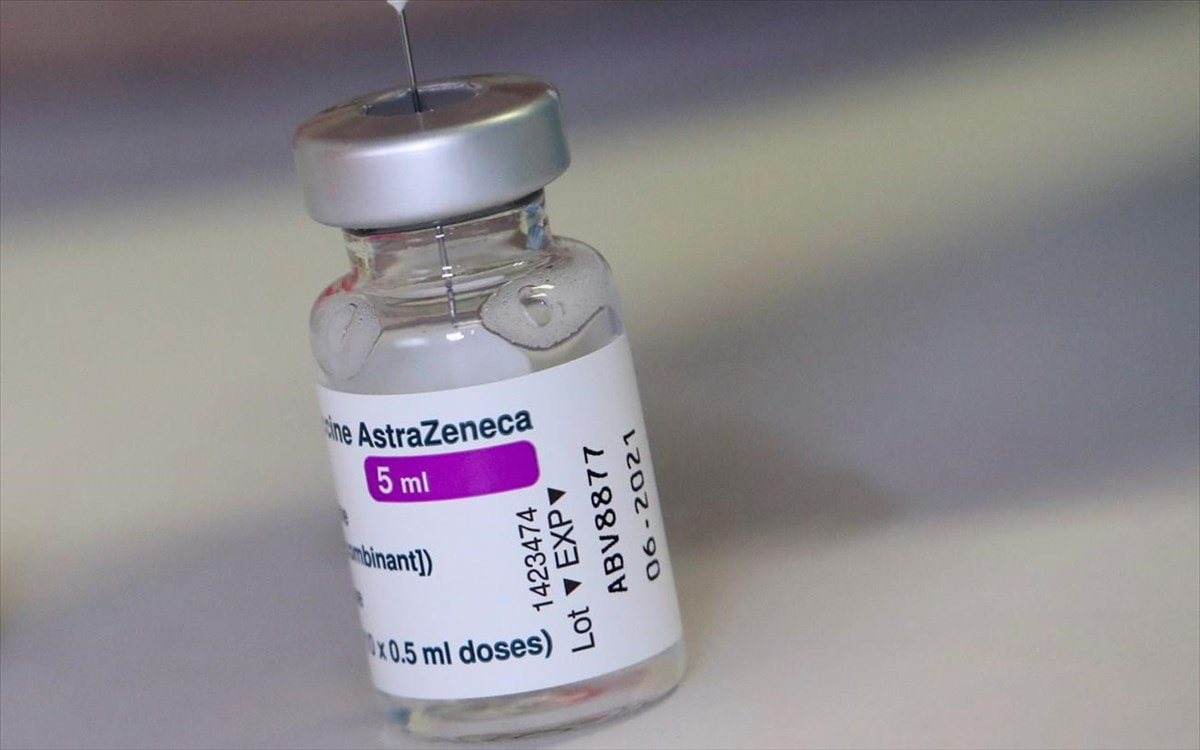 💉Η πρώτη δόση έγινε στις 4 Μαΐου στις 08:40 το πρωί στο ΚΥ Βελεστίνου.
Οι παρενέργειες που είχα:
Αυτή την δημοσίευση την γράφω τώρα που έχουν περάσει 50 ώρες μετά τον εμβολιασμό, και δεν έχω κάτσει ούτε ένα λεπτό. Από όταν τελείωσα τον εμβολιασμό μέχρι να φτάσει η ώρα 15:00 την ίδια ημέρα περπατούσα (έκανα 9 χλμ περπάτημα), και την επόμενη ημέρα από τις 8 το πρωί μέχρι τις 12:30 έκανα διάφορες δουλειές στον Βόλο που είχα και το ρολόι έγραψε 10.50 χλμ περπάτημα. Τώρα είμαι 100% καλά και συνεχίζω την ζωή μου πιο άνετα, βεβαίως ξέρω ότι πρέπει να προσέχω ακόμα για 2 εβδομάδες μέχρι και μετά την 2η δόση. Αλλά αν κάποιος σαν εμένα που έχει διάφορα προβλήματα υγείας, τότε είναι καλύτερα οι παρενέργειες του εμβολίου, παρά σίγουρα να καταλήξεις στο νοσοκομείο (ή και διασωληνωμένος) αν κολλήσεις κορωνοϊό. You navigate to Appearance --> Custom CSS, and you’ll get the custom CSS editor.
Then just add the following code: body, body a { text-transform: initial !important; } 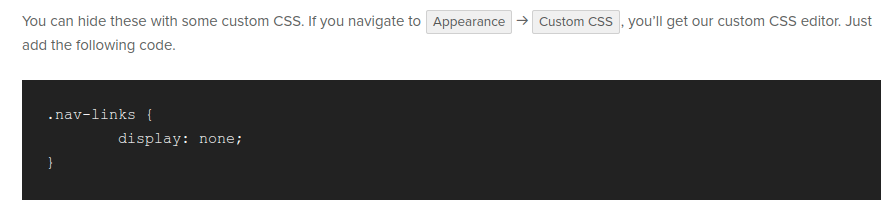 If you don't like the links shown below each post which says "Previous post" and "Next Post" and it doesn't have an option to disable it via customize theme, then you can hide these with some custom CSS.
If you navigate to Appearance --> Custom CSS, you’ll get our custom CSS editor. Just add the following code. .nav-links { display: none; } For some people it's difficult to find how to make the menu (navigation) with uppercase or lowercase letters.
But it's easy to do it with a simple code line in the CSS code, by just going to: Appearance --> Customize and then on Additional CSS write the following. For uppercase letters on navigation menu: .main-navigation a { text-transform: uppercase; } For lowercase letters on navigation menu: .main-navigation a { text-transform: lowercase; } For normal on navigation menu (That it will make it to be normal as it has been written): .main-navigation a { text-transform: none; } 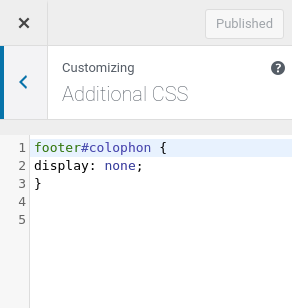 Just go to Appearance --> Customize and then on Additional CSS write the following:
footer#colophon { display: none; } 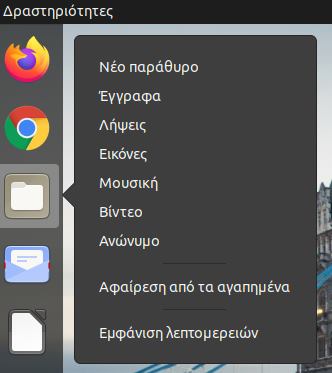 Did you miss the shortcuts we had in files folder on ubuntu dock when we had unity?
Thanks to Manos Sarris from the greek community of ubuntu on facebook, which he found, how to do it again on ubuntu 20.04 or older versions. It's easy and i write below the steps as i have already do it and it's working perfect.
|
AboutVarious topics which don't belong to ecology, cooking, farming. Archives
December 2022
Categories
All
|

 RSS Feed
|
Chris Taklis - Marine and Conservation Biologist | Wildlife Photographer | Environmental Consultant | Citizen Scientist
If you have any concerns or disagree with the content on this website, please feel free to exit and explore other resources. |
|
© 2024 - Chris Taklis
|


